
Installing a shower cabin can be a great way to update your bathroom and add some modern features to your home. However, it can also be a challenging project, especially if you’re not familiar with plumbing or construction. In this article, we’ll walk you through everything you need to know to install a shower cabin successfully.
What is a shower cabin?
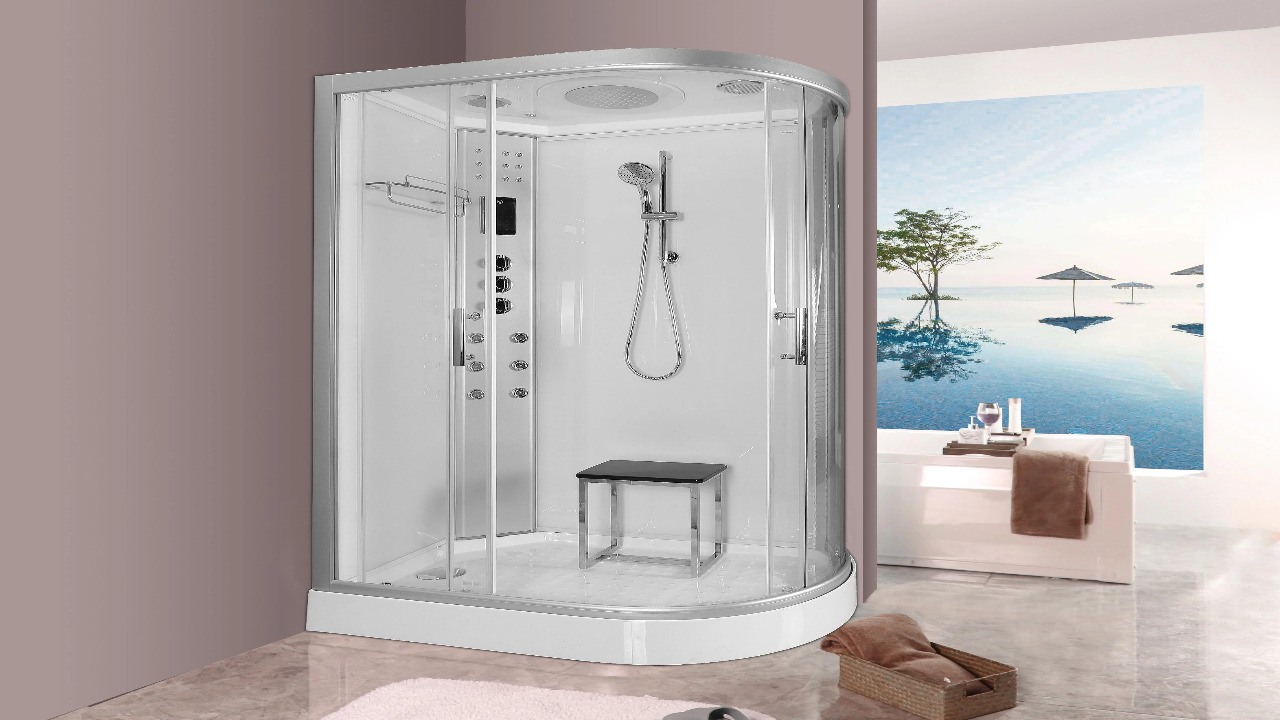
Before we dive into the installation process, let’s define what a shower cabin is. A shower cabin (duschkabine komplett), also known as a shower enclosure, is a self-contained unit that includes walls, a shower tray, and a door. Some shower cabins also come with additional features, such as a built-in seat, steam function, or massage jets. Shower cabins come in various shapes and sizes, including square, rectangular, and quadrant. They can be made from a range of materials, including glass, acrylic, and fiberglass.
Preparing for installation
Before you start the installation process, you need to prepare your bathroom. Here are the steps you need to follow:
- Measure your bathroom: Make sure you measure the area where you want to install the shower cabin. You need to ensure that there’s enough space for the cabin and that it will fit in the room.
- Check the plumbing: You need to make sure that your existing plumbing is suitable for the shower cabin you want to install. Check the water pressure and the hot water supply. If you’re not sure, you should consult a plumber.
- Check the electrical supply: If your shower cabin has electrical components, such as lights or a steam function, you need to make sure that your bathroom has an adequate power supply.
- Remove any existing fixtures: If you have a bathtub or shower enclosure in the area where you want to install the shower cabin, you need to remove it. This will give you a clean slate to work with.
- Prepare the floor: You need to ensure that the floor is level and free from any bumps or debris. You may need to use the self-leveling compound to achieve a smooth surface.
Installing the shower cabin
Once you’ve prepared your bathroom, you’re ready to start the installation process. Here are the steps you need to follow:
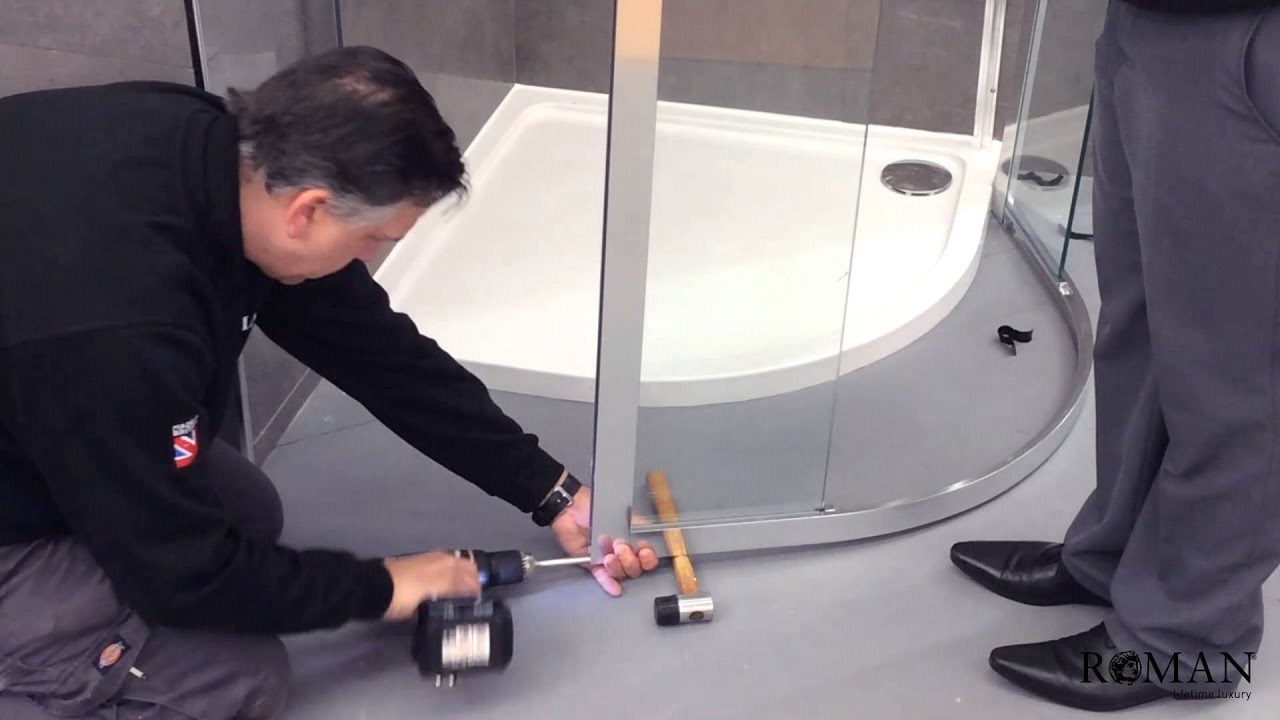
- Install the shower tray: The shower tray is the base of the shower cabin. Follow the manufacturer’s instructions for installation.
- Install the walls: The walls of the shower cabin are typically made from glass or acrylic. You need to attach them to the shower tray and secure them to the wall using screws or adhesive. Make sure they’re level and plumb.
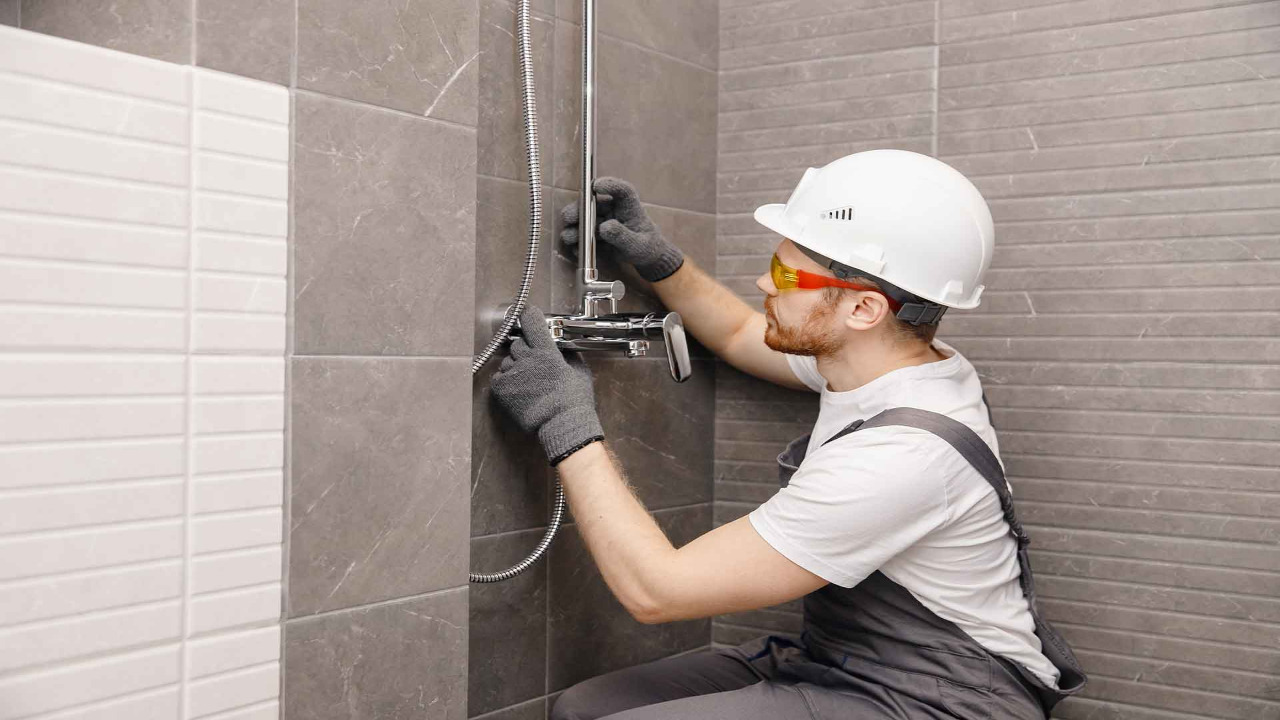
- Install the door: The door is an essential part of the shower cabin. You need to ensure that it’s installed correctly and seals properly. Follow the manufacturer’s instructions for installation.
- Install any additional features: If your shower cabin comes with additional features, such as a built-in seat or massage jets, you need to install them at this stage.
- Seal the edges: Once the shower cabin is installed, you need to seal the edges with silicone sealant. This will prevent water from leaking out of the shower cabin and causing damage to your bathroom.
- Test the shower: Before you start using the shower, you need to test it to make sure that it’s working correctly. Turn on the water and check for leaks or any other issues.
Conclusion
Installing a shower cabin can be a challenging project, but with the right preparation and tools, you can do it yourself. Ensure you measure your bathroom and check your plumbing and electrical supply before you start. Follow the manufacturer’s instructions carefully, and don’t hesitate to consult a professional if you’re unsure about anything. Once you’ve installed your shower cabin, you’ll have a modern and functional addition to your bathroom that will provide you with a luxurious and relaxing showering experience for years to come. With proper maintenance and care, your shower cabin can also increase the value of your home. So, take your time and do it right – the end result will be worth the effort.